
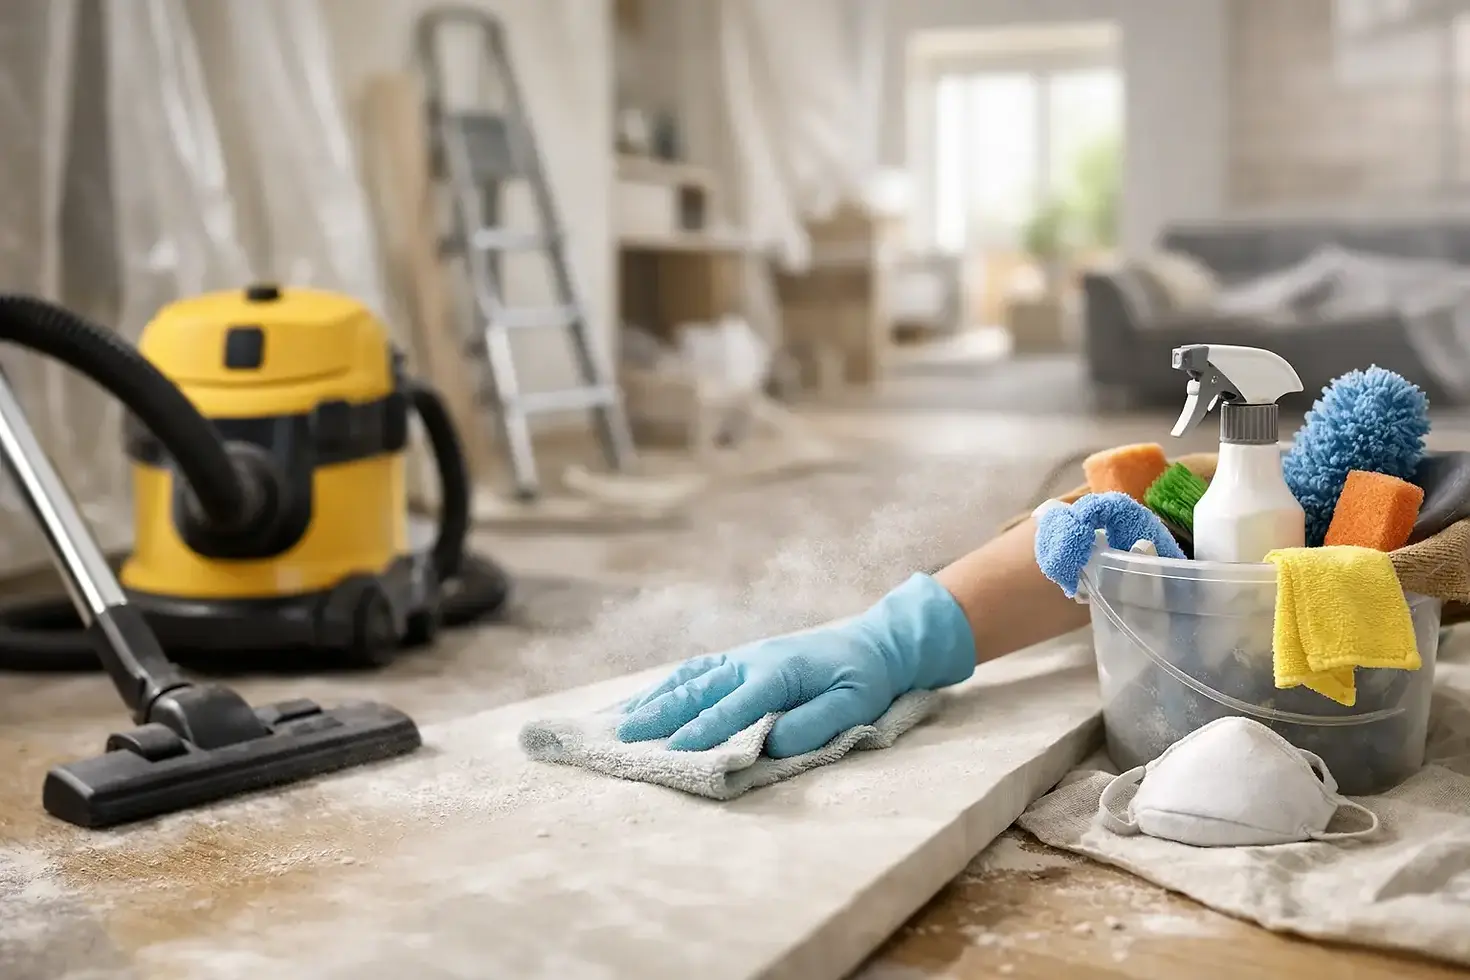
How to Remove Construction Dust at Home Safely

A renovation can look finished while the cleanup is far from over. Fine construction dust settles into window tracks, cabinet interiors, light fixtures, upholstery, and HVAC vents long after the contractors leave. Knowing how to remove construction dust correctly protects your floors, helps your air feel fresher, and makes your newly improved space comfortable to use again.
The key is patience. Construction dust is not like everyday household dust. It is often made up of drywall powder, wood particles, grout haze, insulation fibers, and tiny bits of debris. If you rush in with a broom or a standard vacuum, you can send that fine dust back into the air and spread it throughout the property.
Start With Safety and the Right Supplies
Before cleaning, make sure the work area is safe to enter. If demolition involved older materials, suspected mold, lead-based paint, or asbestos-containing materials, do not handle the cleanup as a standard post-construction project. Those situations require trained, properly equipped professionals.
For ordinary renovation dust, wear a well-fitting N95 mask, gloves, and eye protection. Open windows when weather and security allow, but do not rely on open windows alone to clear the air. Air movement can also carry dust into rooms that were not part of the project.
A sealed HEPA vacuum is one of the most useful tools for post-construction cleanup. HEPA filtration captures very small particles instead of blowing them back through the exhaust. A standard household vacuum may be fine for routine upkeep, but it can struggle with the volume and fineness of drywall or sawdust. You will also want several clean microfiber cloths, damp mop pads, a bucket, a gentle floor-safe cleaner, and fresh HVAC filters.
Avoid dry sweeping, feather dusters, and leaf blowers indoors. They may make a floor look clear for a few minutes, but they put dust right back into the air and onto nearby surfaces.
How to Remove Construction Dust Without Spreading It
Post-construction cleaning works best in stages. Start only after major debris, loose nails, packaging, and scraps have been removed. Trying to dust around piles of materials creates extra work and increases the chance of scratching a finished floor or countertop.
Begin at the highest point in the room and work downward. Fine dust settles, so cleaning the floor first is frustrating when dust from the ceiling fan, trim, and walls will land there again. Vacuum ceilings, corners, vents, light fixtures, wall surfaces, trim, shelving, and window ledges with a soft brush attachment. Move slowly so the vacuum has time to capture particles.
Next, wipe hard surfaces with a lightly damp microfiber cloth. Microfiber holds dust much better than a dry rag, but the cloth should not be soaking wet. Too much moisture can damage unfinished wood, leave streaks on painted walls, or push dust into seams and corners. Fold the cloth into sections and switch to a clean side as it becomes gray. Rinsing a heavily dusted cloth in the same bucket repeatedly can simply redeposit residue.
Cabinets, drawers, closets, and pantry shelves need special attention. Renovation dust often finds its way inside even when doors were taped shut. Vacuum first, then wipe each surface before loading belongings back in. In kitchens, clean the tops of cabinets, inside appliance gaps, and under the sink. In bathrooms, look closely at exhaust fan covers, tile edges, vanity drawers, and around plumbing fixtures.
Clean Windows, Tracks, and Glass Carefully
Window tracks can hold gritty debris that scratches glass or paint if wiped immediately. Vacuum the tracks and frames first, including the small corners where drywall dust collects. Then use a damp cloth to lift remaining residue before cleaning the glass with a streak-free product.
If your windows were covered with plastic during the project, remove the coverings slowly and fold them inward. This keeps settled dust from falling onto freshly cleaned floors or furniture.
Finish With Floors, Then Repeat
Floors usually need more than one pass. Vacuum hard floors with a HEPA-equipped vacuum or a vacuum designed for that surface. Then damp mop with clean water and an appropriate cleaner. Change the mop water as soon as it turns cloudy. Using dirty water is one of the fastest ways to leave a chalky film behind.
For hardwood, laminate, and luxury vinyl flooring, use minimal moisture and follow the manufacturer's care guidance. Avoid abrasive pads and harsh chemicals, especially on newly installed finishes. Tile can generally handle a more thorough damp mopping, though grout haze may need a product made specifically for the type of tile and grout installed.
Carpet deserves a slower approach. Vacuum it several times in different directions, emptying the canister or changing the bag as needed. If the carpet was exposed during drywall sanding or heavy cutting, professional hot-water extraction may be worthwhile after the initial vacuuming. It depends on the amount of dust and whether the carpet was protected during the work.
Do Not Forget Air Vents and Filters
Your HVAC system can move renovation dust from one room to another. Turn off the system during the dustiest phase of cleaning if possible, then replace the air filter once the initial cleanup is complete. If construction was extensive, check it again within a few days. A filter may load up quickly after a major remodel.
Vacuum vent covers and returns before removing them. Then wipe the covers clean and vacuum just inside the visible vent opening. Do not push cloths or tools deep into ductwork, where they can cause damage or leave debris behind. Professional duct cleaning may make sense after a large project, especially if dust is visibly blowing from vents or there is a persistent powdery smell when the system runs.
Run the HVAC fan only with a clean filter in place. An air purifier with true HEPA filtration can also help capture lingering particles in bedrooms, offices, or other spaces that need to be used right away.
Pay Attention to Soft Surfaces and Hidden Dust
Dust does not stay on hard surfaces. It settles into curtains, blinds, upholstered furniture, mattresses, rugs, and even the tops of doors. Vacuum upholstered pieces using the appropriate attachment, and wash removable covers or linens according to their labels. If items were stored in the renovation area, wipe down their containers before bringing them into cleaned rooms.
Blinds are often overlooked. Close them in one direction and wipe each slat, then reverse the direction and repeat. For fabric curtains, vacuum with a gentle attachment or arrange laundering if the fabric allows it.
Look behind appliances, under furniture, around baseboards, and inside closets before calling the job complete. These areas can hold enough fine dust to make the space feel dirty again once people begin moving through it.
When Professional Post-Construction Cleaning Helps
A small paint project may only require careful vacuuming and wiping. A kitchen renovation, commercial build-out, new flooring installation, or whole-home remodel is different. Large projects create layers of dust and residue that require detailed cleaning, proper equipment, and time that many homeowners, property managers, and business owners simply do not have.
Professional post-construction cleaning is especially helpful when a property needs to be ready for move-in, listing photos, tenant turnover, a retail opening, or guest arrival. A trained team can work through the detailed areas that are easy to miss, including fixtures, interior cabinets, baseboards, appliances, vents, and floors. For Columbia-area clients, Schnabl Cleaning Services provides careful post-construction cleanup designed around the condition of the property and the timeline you need to meet.
A clean renovation should feel like a fresh start, not a lingering chore. Give the dust time to settle, clean from top to bottom, and do not be surprised if a final light wipe a day or two later makes all the difference in creating a happy, comfortable space.


Comentários